B2 PRO 5.4.2下载地址:
以下是5.2.0版本hosts方式绕过
5.2.0原版主题:
宝塔参考: 教程-子比主题7.6版本绕过授权
伪站搭建(以apache2为例)
1.www下新建7b2目录, 添加index.php文件:
2.添加伪静态.htaccess文件:
<IfModule mod_rewrite.c>
  Options +FollowSymlinks
  RewriteEngine On

  RewriteCond %{REQUEST_FILENAME} !-d
  RewriteCond %{REQUEST_FILENAME} !-f
  RewriteRule ^(.*)$ index.php/$1 [QSA,PT,L]
</IfModule>
3.添加VirtualHost:
nano /etc/apache2/sites-enabled/000-default.conf
## 添加7b2.com
<VirtualHost *:80>
    ServerAdmin webmaster@localhost
    ServerName 7b2.com
    DocumentRoot /var/www/zibll

    ErrorLog ${APACHE_LOG_DIR}/error.log
    #CustomLog ${APACHE_LOG_DIR}/access.log combined
</VirtualHost>
nano /etc/apache2/sites-enabled/
4.添加HTTPS,SSL用自签证书:
cd /etc/apache2/ssl
# 私钥文件
openssl genrsa -out private.key 2048
## 证书请求文件 默认回车即可
openssl req -new -key private.key -out server.csr
## 自签名证书
openssl x509 -req -days 365 -in server.csr -signkey private.key -out server.crt

nano /etc/apache2/sites-enabled/default-ssl.conf
## 添加7b2.com
    <VirtualHost *:443>
        ServerAdmin webmaster@localhost

        ServerName 7b2.com
        DocumentRoot /var/www/7b2
    LogLevel error

        SSLEngine on
        SSLCertificateFile  /etc/apache2/ssl/server.crt
        SSLCertificateKeyFile /etc/apache2/ssl/private.key
    </VirtualHost>
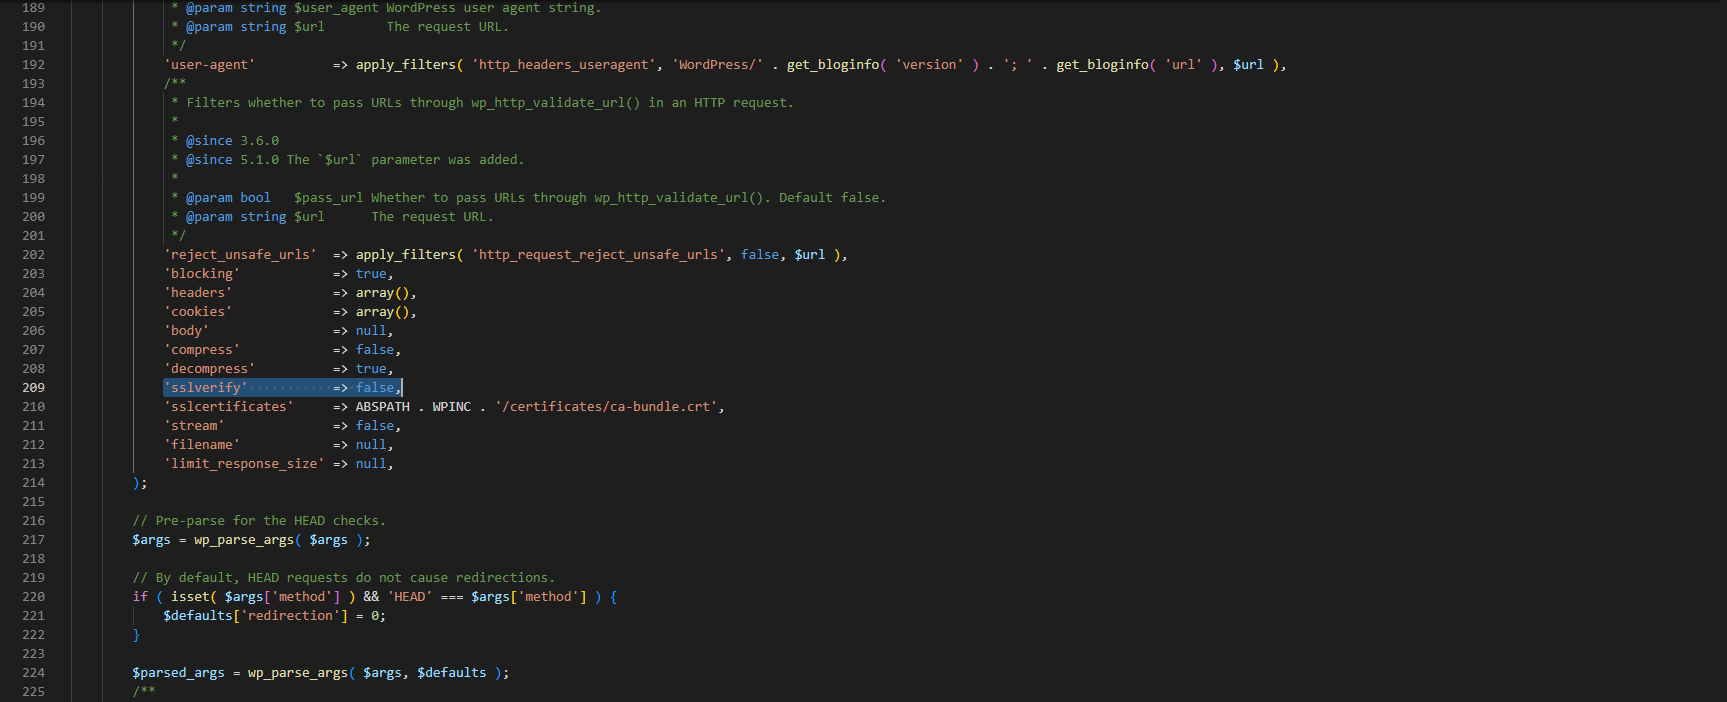
5.去除wordpress SSL验证:
nano /var/www/wordpress/wp-includes/class-wp-http.php

# 209 行 'sslverify'           => true, 改成 false
'sslverify'           => false,
6.修改hosts:
nano /etc/hosts
# 添加
127.0.0.1 7b2.com

service apache2 restart
7.登录后台,会员号随便填写,点击授权


评论 (0)